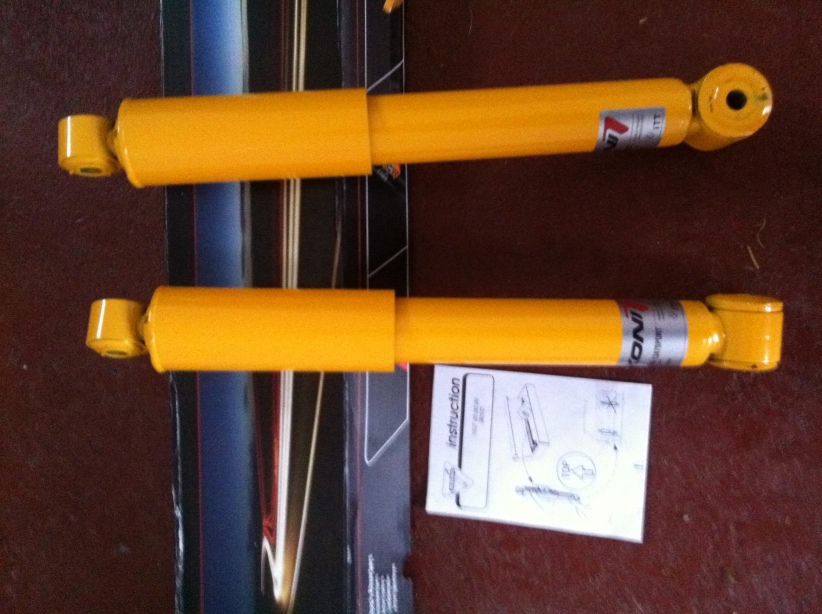
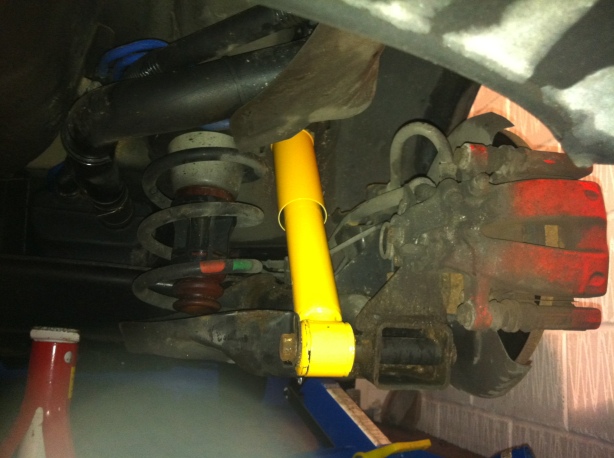
My Koni rear shock absorbers arrived today, along with great hopes of banishing the bouncing. They were very easy to fit, although so far I haven’t figured out how to adjust them.
The instructions were less than helpful, so I’m still trying to work out how on earth to determine what the minimum damping setting is and how to increase or decrease the effect. As a result I’ve just fitted them as they came and will take them off to adjust when I can find some more information on what I’m supposed to do.
Fitting was a doddle…the most difficult part was getting the wheels off! Instructions follow for anyone who is interested:
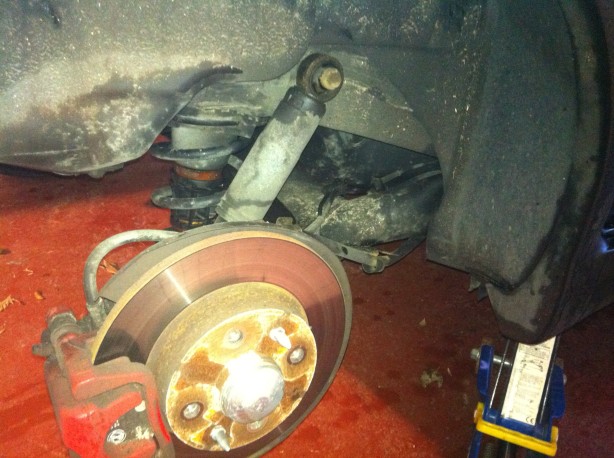
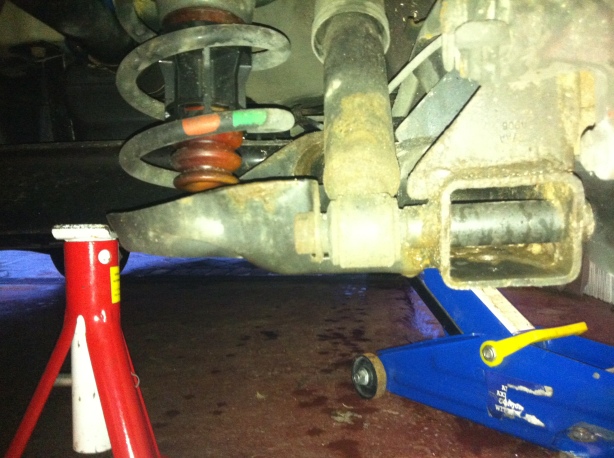
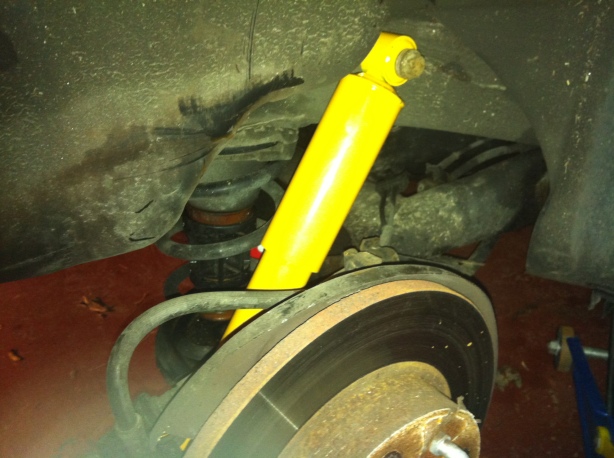
Jack the car up on one side at the marked jacking point and pop an axle stand under the rear beam. Remove the wheel which will expose the shock absorber.
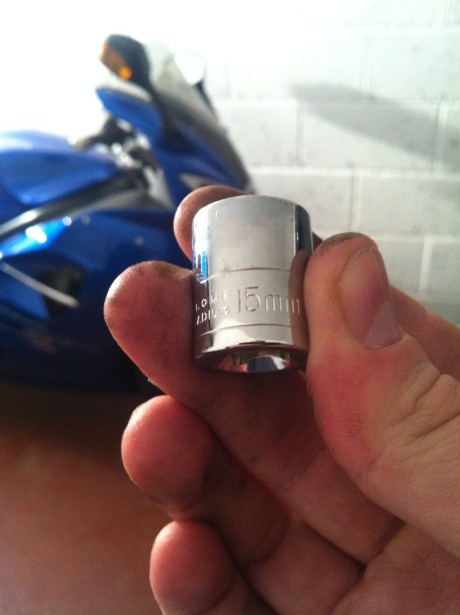
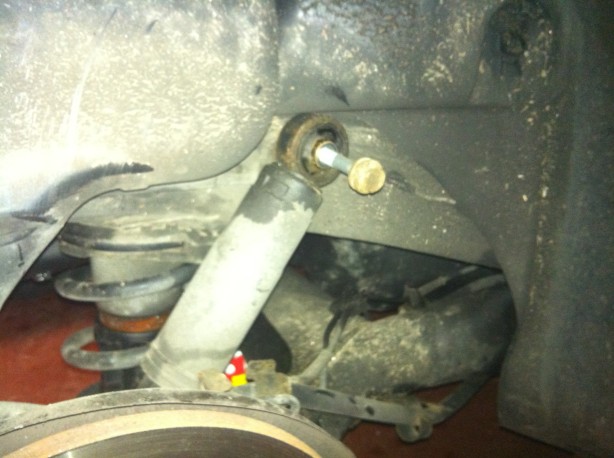
The bolt in the picture above can be removed with a 15mm socket. It was torqued to less than 80nm so should be easy to remove.
Ta-da!
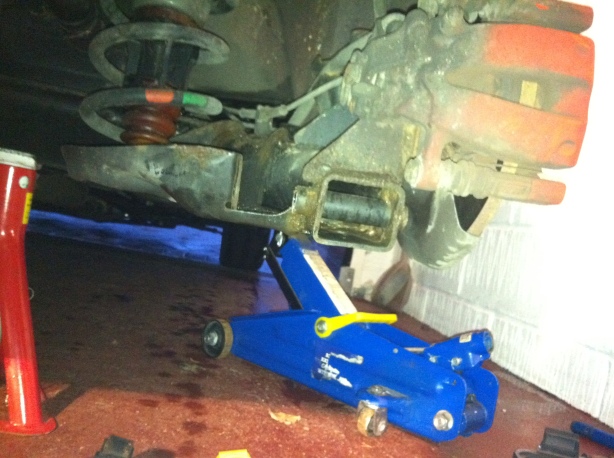
The bottom one is just as easy…
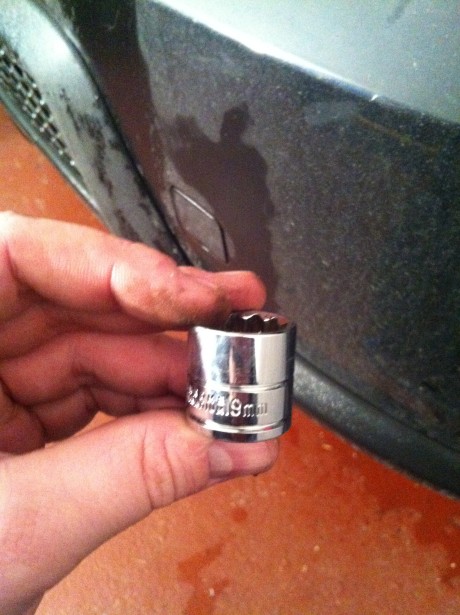
This time the 19mm socket is your friend. Again, torqued to less than 80nm.
Then simply remove the original shock absorber. I told you this was easy!
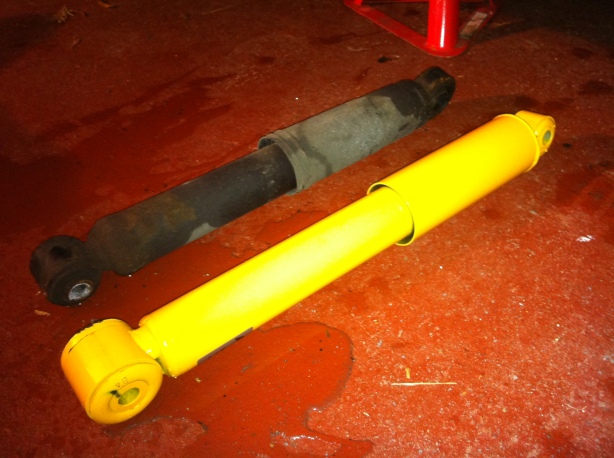
Old…and shiny new. The Koni certainly looks beefier.
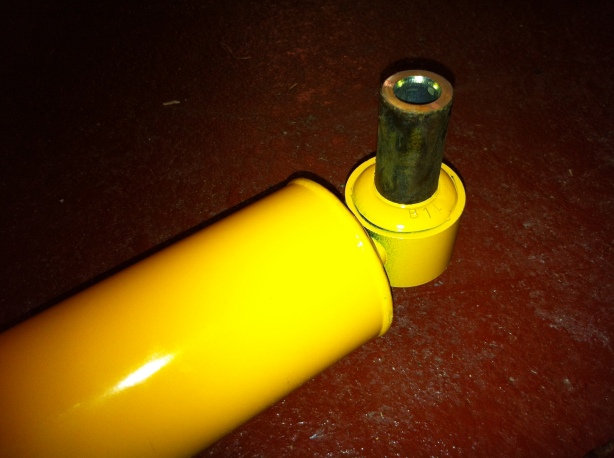
Something that I found a bit odd about the Koni is that the metal bush from the original shock has the same outer diameter (pictured propped on the Koni below), but a smaller inner diameter…
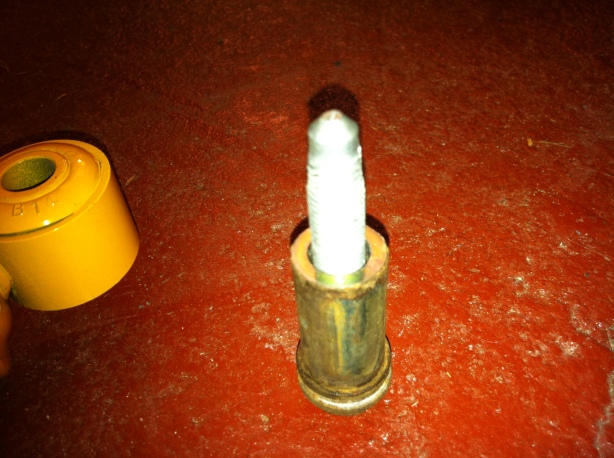
Original inner bush with top bolt:
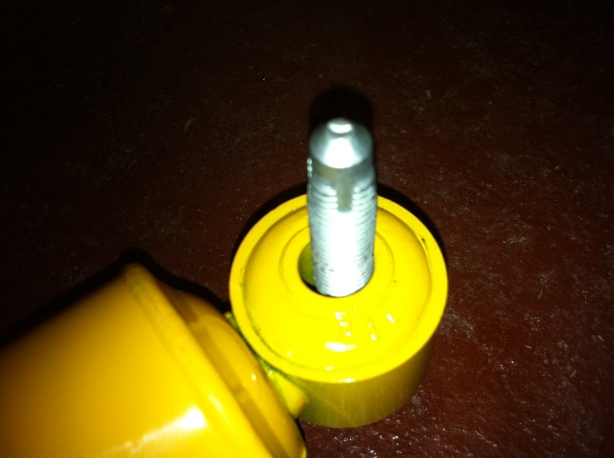
…this means that the top bolt is loose in the bush on the Koni:
